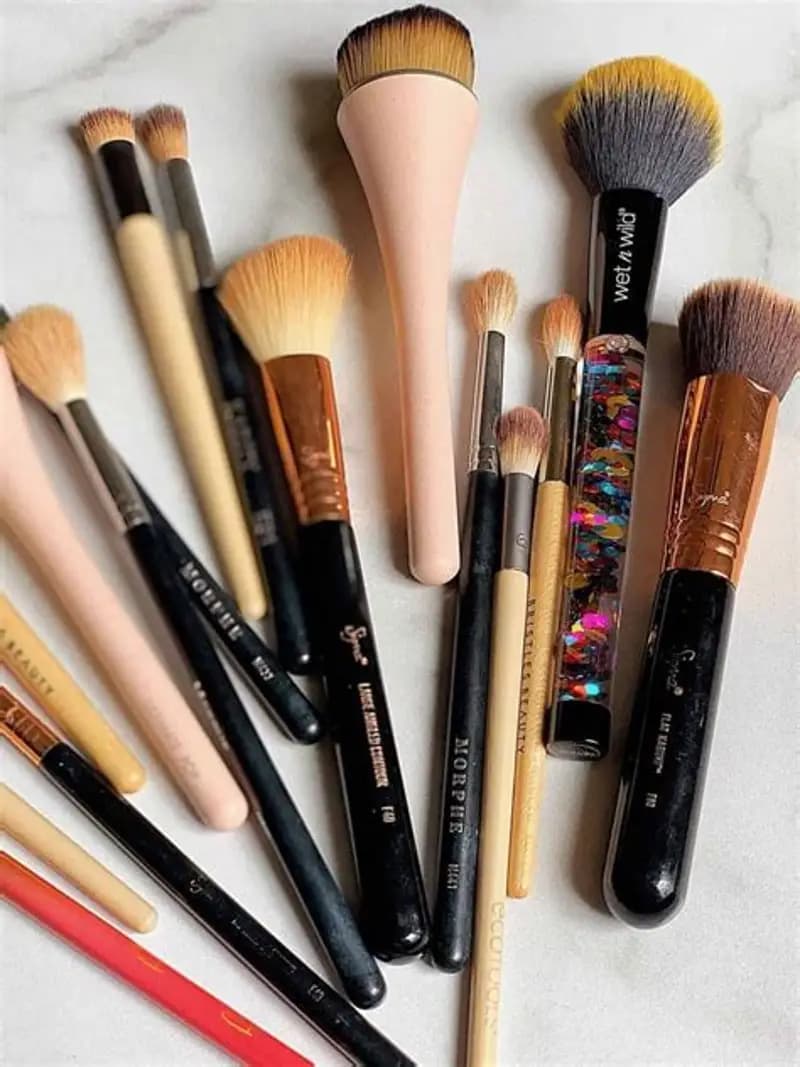
We invest a lot of time and money into finding the perfect skincare products and high-quality makeup. But there is a silent saboteur hiding right in your vanity that could be undoing all of your hard work. When last did you clean your makeup brushes?
If you can’t remember, you aren't alone but you might want to read on to find out exactly why your dirty tools are holding you back from achieving flawless skin and perfect blending.
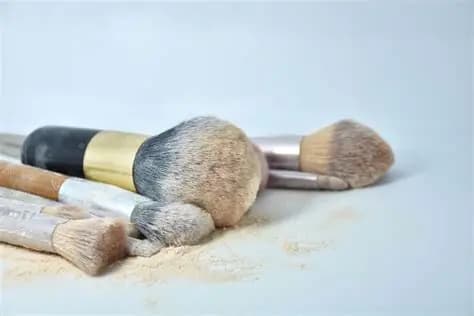
Every time you use a makeup brush, it doesn't just deposit product onto your skin; it collects things from your face, too. Over time, your brushes become a breeding ground for elements you definitely don't want to be painting back onto your face:
Dead Skin & Oil: Your brushes trap natural sebum and dead skin cells, which clog your pores instantly upon reuse.
Bacteria & Yeast: The dark, packed environment of brush bristles is the perfect home for microbes that cause infections and stubborn acne.
Old Makeup: Residual product builds up, cakes, and hardens, leading to streaky, patchy looks during application.
Using dirty brushes does more than just ruin your expensive foundation application; it actively damages your skin health. The direct consequences include:
Acne & Breakouts: You cannot outrun breakouts if you keep reintroducing old bacteria to clean skin.
Irritation & Rashes: Stiff, product-caked bristles become abrasive, causing micro-irritation and redness.
Eye Infections: Eye brushes carrying bacteria can easily cause painful conditions like conjunctivitis (pink eye) or styes.
Patchy Makeup: No matter how good your blending technique is, dirty tools make smooth application impossible.
Fortunately, reversing the damage is incredibly simple. You don't need a complicated routine to keep your tools pristine, just follow this two-step guide:
Step 1: Deep Clean
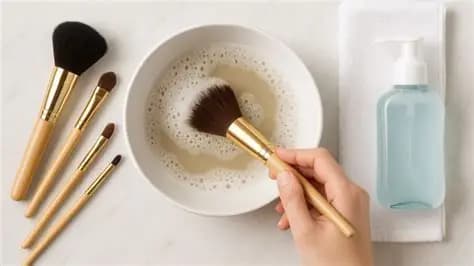
At least once a week, give your brushes a thorough wash. Use warm water along with a gentle brush cleanser or mild soap. Swirl the bristles gently on a silicone cleaning mat or directly in the palm of your hand. Rinse thoroughly, and repeat until the water runs completely clear.
Step 2: Dry Properly
Once clean, gently squeeze out any excess water and reshape the bristles with your fingers. Lay the brushes flat on a clean towel or hang them upside down to dry completely. NEVER dry them upright! When dried vertically, water seeps down into the ferrule (the metal part holding the glue), which loosens the adhesive and causes your brush bristles to shed.
Be Honest... When last did you wash your makeup brushes?
Now that you have the knowledge, it's time to take action! Grab your tools, head to the sink, and give your skin the clean slate it deserves. If you found this guide helpful, make sure to share it with a friend who might be sitting at the "dirty brush table" and needs a gentle reminder!
Shop editor-approved picks and beauty science innovations featured in this story.
Recommended products designed for skincare hygiene.

Stay in the know
Be the first to discover our latest stories, beauty insights, skincare trends and exclusive updates from Seraphé.